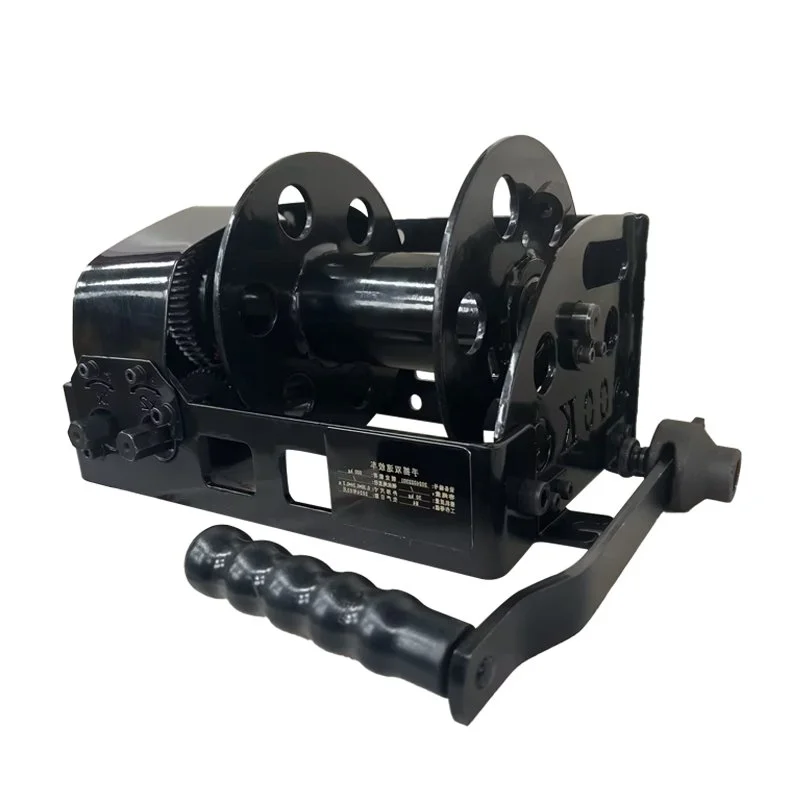
Manual hand winches are widely used for towing and lifting heavy loads in scenarios like off-road adventures and heavy-duty lifting tasks, thanks to their ability to pull cargo via a rotating drum and steel cable. Since most customers purchase hand winches online, they often arrive in separate parts, requiring self-assembly. Below is a clear guide to assembling your hand winch correctly.

Installation Steps
- Install the Base
- Start by unscrewing the hex screw and thin washer from the tail end of the gear shaft.
- Secure the nut on the handle to the trapezoidal worm gear at the tail end of the gear shaft, ensuring the nut sits closely against the friction component.
- Tighten the hex screw and washer to secure the assembly.
- Install the Steel Cable
- Loosen the hex screw on the fixing plate located on the left side of the winch drum and remove the plate, which is attached to a screw with an oval head and square shank.
- Wind one end of the steel cable clockwise around the drum.
- Pass the other end of the cable through the long, curved hole on the left side of the guardrail, leaving 7–10 cm of cable exposed.
- Insert the screw with the oval head and square shank from the inside out through the square hole on the left side of the drum.
- Place the screw into the cable fixing plate, allowing the steel cable to wrap around it. Pull the cable back to embed it into the fixing plate, then tighten it with a hex nut.
- Rotate the handle to wind the steel cable onto the drum, ensuring the cable remains taut during winding.
- Secure the Winch to the Base
- Use three screws and nuts to firmly attach the winch to its base.
Final Steps
Once assembly is complete, test the hand winch by performing a trial lift. If the winch operates smoothly without issues, it is ready for regular use.
